In this blog, we will learn how to dockerize our node application. Make sure docker is preinstalled in your system if it is not then install docker based on your Operating system. To download the Docker follow this link.
Steps to Create Dockerize Node.js Application.
Step 1:- Create the Dockerfile
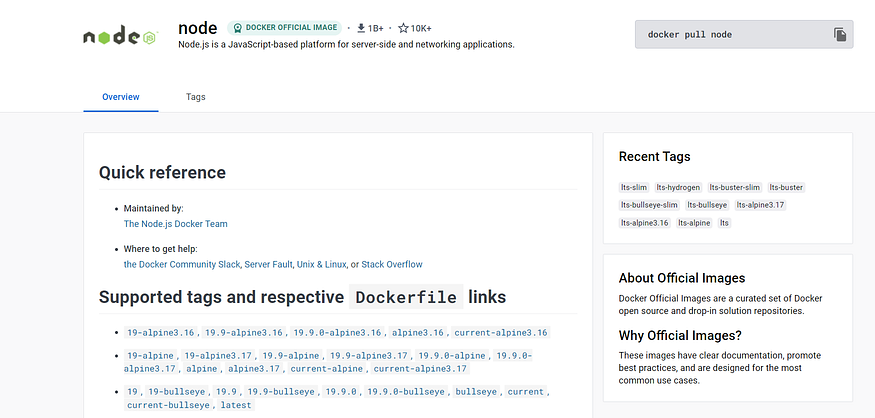
To create the dockerfile first go to the docker hub to find the node js base image. Base images are like the OS for your container where you will get a node already installed inside the container.

Now, Based on the node version install in your system select the base image. To check the node version in your system types the following command in your terminal.
node --version
In my case, it is the node 18.0.0 version Now let’s create the dockerfile. Create a file with the name Dockerfile make sure to not provide any extension to the filename and add the following content.
# Base Image
FROM node:18
# Working Dir
WORKDIR /app
# Copy Package JSON Files
COPY package*.json ./
# Install Files
RUN npm install
# Copy Source Files
COPY . .
# Run the build
CMD [ "npm", "run", "server"]
Also, make sure this Dockerfile should be existing inside the project folder where the code resides.
FROM node:18—From the base image node, with version 18
WORKDIR— We are mentioning that the directory calledappis going to hold our project. If the directory specified doesn’t exist in the image, it is newly created.
ADD package*.json ./— We are adding our package.json and package-lock.json to our workdir i.e /app.
RUN npm install— This command installs the dependencies mentioned in our package.json
COPY . .— Copy all the source code files from the current working directory to the destination working directory in the i.e. /app
CMD [ "node", "run", "server"]— Executesnode run server, which is the command to run our app
Step2: Build the Image from the Dockerfile
Next, you should be inside the Project folder where all the code and Dockerfile exist. To create the image run the following command:-
docker build -t docker-node-app:1.0 .
.— checks for the Dockerfile in the current directory, using which the image is built.
-t docker-node-app:1.0— represents the name for the image along with its tag, here, we have given the tag (1.0). (-toption is used to specify a name and a tag for the image to be built)
To view all images in your system, type
docker images
Step3: Create the Container from the build image
Run the following command to create the container from the image created in the previous step:-
docker run --name app -d -p 3000:3000 docker-node-app:1.0
--name app— we are naming our container with the--nameoption, theappis the name given.
-d— to run our app in detached mode means the container will run in the background the output will not show in the terminal.
-p 3000:3000—-poption is to map a port to our image, here we are mapping the two ports on the left side of the3000of our application port and on the right side of port3000of our container.
docker-node-app:1.0— the image to run
Now, we can view our running container using the following command,
docker ps
To access the application go to your web browser and use the server IP or localhost on port 3000.
http://server_IP:9090 OR http://localhost:9090
Finally, We have successfully performed all steps to dockerize our node.js application.
Common Container Commands:
$ docker stop container_name          # to stop the container
$ docker start container_name         # to start the container
$ docker rm -f container_name         # to forcefully delete the container
$ docker rmi -f image_name            # to delete the image
Conclusion:
In this article, We have performed, How to Dockerize our Node.js application by creating the image from the Dockerfile and running the container from it. We have also learned some common docker container commands.
Follow-up
If you enjoy reading and would like to read more in the future. Please subscribe here and connect with me on LinkedIn.
You can buy me a coffee too🤎🤎🤎
